 EN
 fr
 es
 ru
 pt
 ar
 de
 Data Center Switch
 Enterprise Switch
 Industrial Switch
 Access Switch
 Integrated Network
 Optical Module & Cable

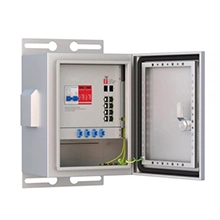
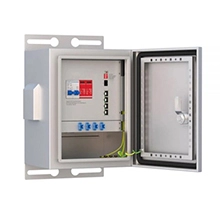

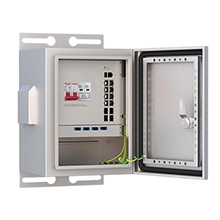
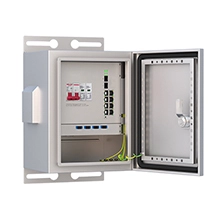


An outdoor communication box should be selected based on waterproofing, dust protection, UV resistance, corrosion resistance, heat dissipation, condensation control, cable entry protection, grounding, surge protection, and anti-theft requirements. The enclosure design should match the installation environment, such as roadside, pole-mounted, wall-mounted, rooftop, coastal, desert, or industrial sites.

-
Products
-
Solutions
Lanao has been steadfastly committed to designing, developing, and manufacturing state-of-the-art Optical and Ethernet Transmission solutions.
 Internet Data Center
-
Support
Try professional and convenient services of Lanaotek to push your projects into success.
 FAQs
-
News
To get latest information and be sensitive to market information, product trends, international facts from Lanaotek news and events.
 Industry News
-
About Us
Lanaotek is a leading network supplier, providing enterprise customers and end-users professional ICT products and solutions.
- Explore Lanbras
- Company Profile
- Certification
- Corporate Culture
- Social Responsibility
- Follow Us
- Events
- Become a Partner
 About Us
- Contact Us
Popular Search

 Call us on:
 Email Us:
 2106B, #3D, Cloud Park Phase 1, Bantian, Longgang, Shenzhen, 518129, P.R.C.
